Our new AI Wizard empowers content creators by streamlining the process of designing and building interactive sequences, cutting down development time, and enhancing the richness of user experiences.
Using the AI Wizard
Create scenarios in three steps
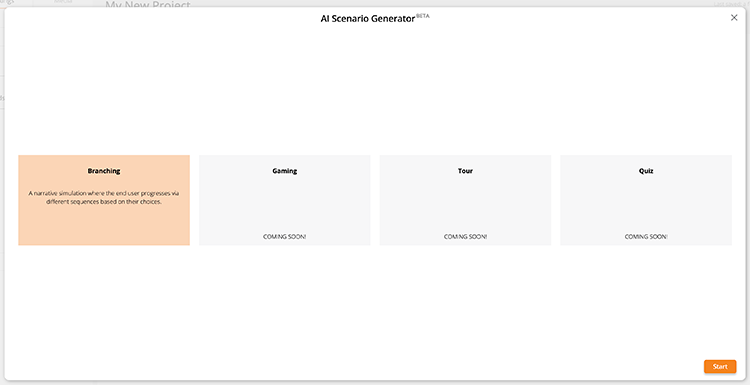
With our new AI Wizard, you’ll be able to create a branching scenario map in three quick steps. To get started, open your project and select LAUNCH AI WIZARD from the Scenario list.

AI Scenario Generator
Currently, you can only use the generator to create a branching scenario, but we have plans to help you create different types of interactive experiences. Click START to begin.

Step 1
Use the sliders to set how many decision points you want and how many outcomes you need for each decision point. You can also set a pass score here.

As you move the sliders, the diagram will automatically update to reflect your changes.

When you are happy, click Next to move to Step 2.
Step 2
You’ve created your basic branching map, now you can refine it. Select one of the options on the left hand side, then click where you want to apply that change. If you make a mistake, hit the undo button.

Here, we’ve created an end node.

And here, we’ve created a new branch with additional decision points and outcomes.

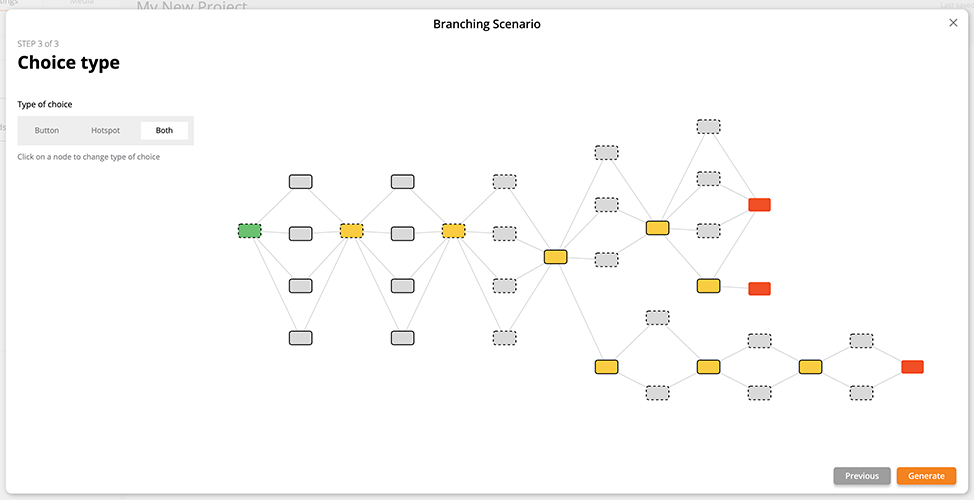
Step 3
You can decide whether to use buttons or hotspots (or both!) for your branching scenario.

A solid line indicates a button. A dashed line represents a hotspot. To change an overlay for a single node, select both and then click on the node in the map. It should change to the other overlay type when you click on it.

Generate
Once you are happy, click GENERATE to see your branching scenario diagram in the canvas. From here, refine your scenario adding additional overlays, achievements and conditions, plus your media.
Don’t forget to preview and test your scenario before publishing and sharing.

© Copyright 2023 Near-Life™
www.near-life.tech


